Gundam Model Build


So I thought I'd try a different kind of thread today.
I want to show what goes on when I do my gunpla. (gunpla= gundam plastic model)
It's been a few months since my last project. Seen here.
So I'm going to work on something again since I showed off at Otakon. For my next project, I'm going to something a little simpler but I mainly want to work on refining my prep skills.
So here's the plan:
Take this...
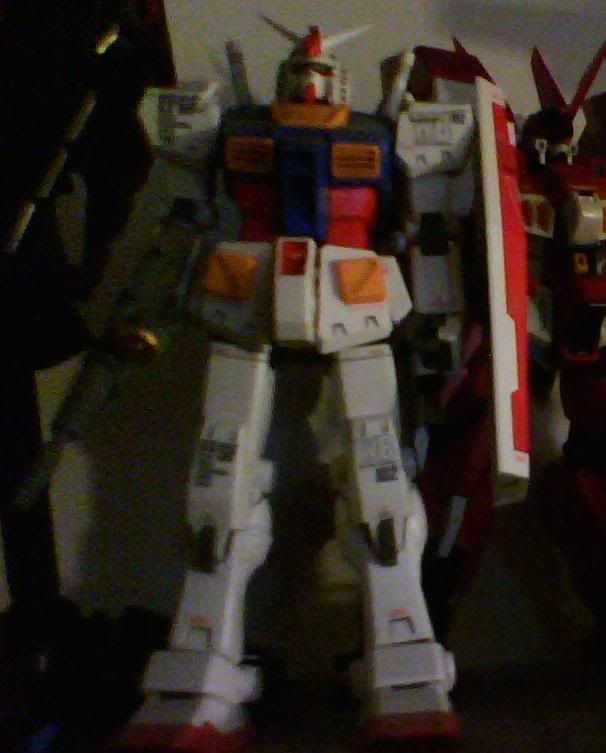
... and turn it into this. (My wonderful interpretation of what it should look like... sort of)

Original kit is a RX-78-2 Gundam version Kai. I'll be converting it into a Black Tri-Stars schemed Gundam(purely my own invention). But to make it more interesting, I'm adding a twin-tubed missile launcher to the backpack and a few cosmetic changes.
So to start off, I had to disassemble that sucker and clean it. Decals had to removed and the surface cleaned of any grime and oil that built up on it from a couple years on the shelf. I let the parts soak in some tubs with dishwashing detergent overnight.
Next day, let the parts out to dry.
http://i10.photobucket.com/albums/a149/ ... 311-00.jpg
After they dried, I spent the day starting prep work.
With so many parts, first what I like to do to make it easier, is sort the parts out by what color they are going to be. I have little boxes for keeping the different sets of parts in. Some parts are going to have two-colors so they'll have to get special treatment and get their own box. ![]()
First off, since I'm going to be doing some modifications, I like to deal with that as soon as possible in the prep process. Cause if something is going to wrong, it should go wrong now.
So I start messing with the legs first. The main external piece of the leg from knee to ankle is one piece with the little grey thingy in between. Since it's a two color part, I'm going to make it easy on myself and carefully cut the knees section from the lower leg section so I have two parts. It'll make it easier for painting later.
I work on that grey piece next... It sort of is supposed to be a thruster vent but not really... So I'm going to define it as one by drilling out the middle of the piece and cleaning it up with my files and knife to make some nice holes. I then file down the side areas and scribe in some vent details.
Then I go to the lower leg part and create a hole for a sensor spot. It's an open hole right now, but later on I'll stick a piece behind it for the sensor.
After that, I go over the parts with my files and sandpaper to remove any sprue stubs(from when the parts were on the plastic tree before it was originally assembled), removing any remaining residues, and smoothing the surfaces out. This is going to be done with every part BTW.
Take a look. Preped part on the right, original on left.
http://i10.photobucket.com/albums/a149/ ... 624-00.jpg
Next up, I worked on the beam rifle. I only made one real alteration to the rifle; I removed the thin neck like piece in the barrel and brought the muzzle flush with the larger part of the barrel. I also hollowed out the muzzle... easier than said than done but I got through it. But it makes it looks a bit more real that way.
So, glueing... The rifle was basically in four parts. Two halves, the muzzle, and the secondary grip. The grip is a movable piece so I shouldn't dare glue it so I prep it first before assembling the rest of the rifle.
For gluing I use a liquid cement most of the time. (Sometimes you can get away without gluing on a kit like this) Most parts that have to be glued will be in halves so glue is carefully and sparingly applied to the contact surfaces and inner pegs. Being careful not to get glue on the grip piece, the halves are pressed together enough so a little bit of glue seeps outs. This will dry and later be filed down to smooth seam. Again this is what will happen with every part that has to be glued. (thankfully there aren't too many things that have to be glued on master grade gundam kits)
Here's the rifle, after the glue dried and just before filing and sanding.
http://i10.photobucket.com/albums/a149/ ... 624-01.jpg
Next up... That missile launcher. This is where it gets tough.
I have this extra missile launcher tube from an ground GM kit. What has has to be done, is that this launcher has to be attached to the backpack, but also has to able to swivel up and over the shoulder to be in a firing position.
There's nothing on the original backpack for a swivel so this is a movable part that will have to be made.
I probably spent a good deal of my day trying to figure out how I was going to do this. I went thorough my amassed collection of junk and spare parts to find something suitable.
What I came up was this support piece from a Ground Gundam kit. It's supposed to balance a cannon on a shield, but for me it'll be the swivel part. I found a little piece to stick into it that will connect it to the missile launcher. Good.
Next thing... how to get this onto the backpack. That's going to be a trick.
What I came up with is to take part of the cannon barrel from the spare ground gundam I have ( since that is the only thing that will fit in the other end of this swivel piece) and have that stick into the side of the backpack, connected to a polycap(soft plastic bits used for joints and holding parts) that I added inside the backpack.
So did it work?
Take a look.
http://i10.photobucket.com/albums/a149/ ... 332-00.jpg
and there it is. ![]()
http://i10.photobucket.com/albums/a149/ ... 333-00.jpg
I'll still have to spend some time prettying it up and all, but hey, it works.
I used epoxy to fuse the parts for the swivel together so they'll stay nice and solid. The only joints are in the polycaps which are hidden inside the backpack and launcher.
After all that, I'm calling it a day.
Well actually this has been three days of work thus far. Washing the parts took up the first two days.
Besides the above, I've started prep work on the bazooka and backpack. Shows you how much I still have to do before I even get to painting.
Guess my post was kind of long, but if you got through it, hope you found it interesting.
I'll update later with more progress.
Edit:fixing missing words...
_________________
Current obsessions: Miatas, Investing
Currently playing: Amnesia: The Dark Descent
Currently watching: SRW OG2: The Inspectors
Come check out my photography!
http://dmausf.deviantart.com/

Wow, thanks for posting this. I am just about to start two new projects a wing gundam and a veritech from Macross. Not sure which one i will start first. Both are 1/100 MG. Really looking forward to the wing gundam but its been a while so might do the veritech first to hone the skills.
Oh wow, this thread is old!...
I never actually finished that project. ![]()
The new MG Wing Gundam is nice though. ![]()
_________________
Current obsessions: Miatas, Investing
Currently playing: Amnesia: The Dark Descent
Currently watching: SRW OG2: The Inspectors
Come check out my photography!
http://dmausf.deviantart.com/


