Kitesandtrainsandcats wrote:
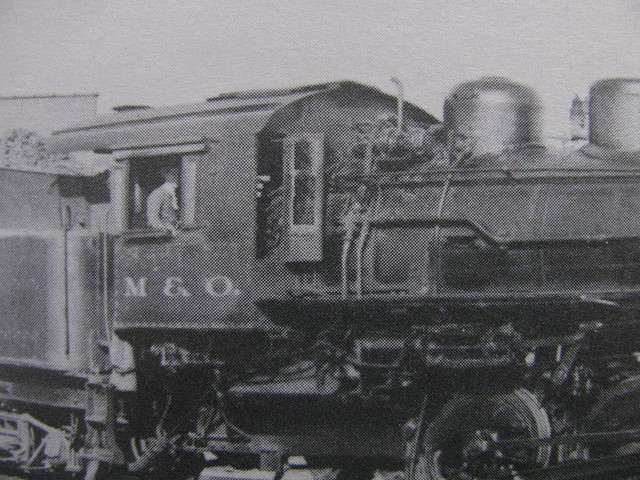
(NOTE: Most, not every one, of the US railroads had engineer/driver and fireman on opposite sides from UK.)
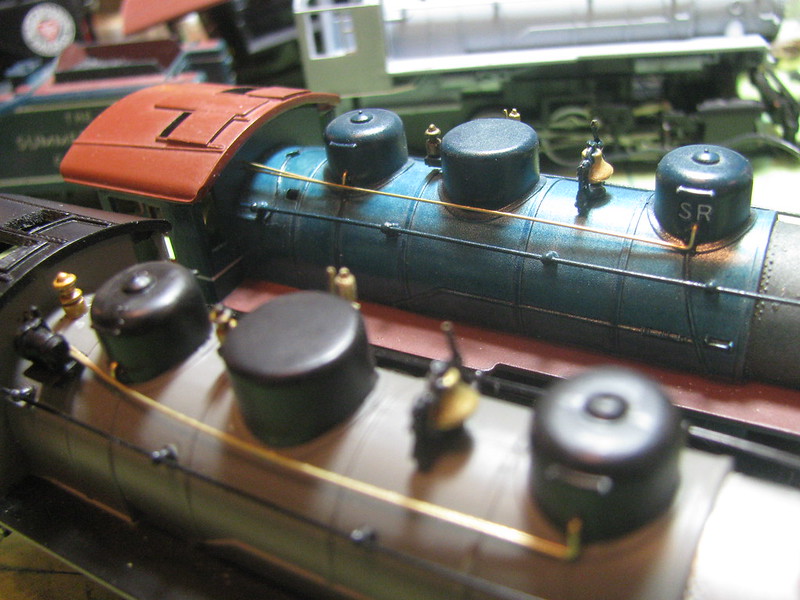
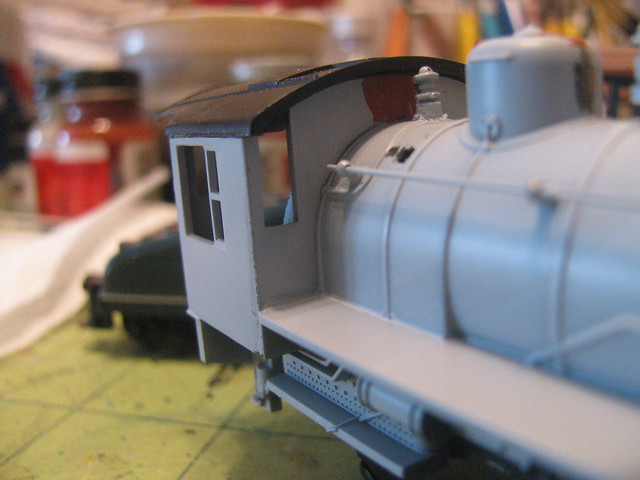
(a note for those perhaps unfamiliar with railroads/railways: whereas automobile drivers sit inside/toward center of 2 lane roads, locomotive engineers sit toward outside of double track so as to better see the trackside signals)
In the UK it varied from railway company to company. Since grouping in 1923 where many companies merged to form "The Big Four", and then the railways passed into governments hands in 1948, some locos were built to be driven on the left and others on the right. Some of the foemer companies had to have their signals repositioned so they could standardize the driving on the left which meant the firemen had to also look out for the signals (Which they did anyway because one would be a fireman for so many years before one became a driver, so it was good practice to learn where all the signals were as the majority of firemen were seen as apprentice drivers, and indeed on very cold days with the drafty cabs of the British Railways standard class locos where the designers thought they knew better, they were so cold that the driver and firemen kept having to change places where the fireman would drive for a while unofficially, as one side of their bodies would be toasty and hot and the other side was freezing cold... So by swapping jobs now and then they could keep going!
But what I am saying is that it was not until British Railways was formed, that there was a standard side, as prior to this each company decided for themselves and positioned their signals accordingly... So you can imagine the situation which British Railways was in when they took over (Or the big four companies were in when they took over from the great number of different companies before them) running locomotives dating from around the 1860's to their own new designs from 1948 onwards, what a difficult task they had. (Some locos like the ones from the 1850's to 1860's were kept on the rails as no other loco would turn such sharp curves on the lines they ran, hence why they were rebuilt so many times, but there were a great many more elderly locos from the 1880's onwards that had plenty of life left in them and hence why they were kept in service, or they had been rebuilt and maintained and were in good condition so they carried on in service as it was cheaper then building a new loco. The GWR (And others) were well known foe standardizing parts and adapting elderly locos from other companies using their parts, so they ended up looking like a GWR loco. Example of an entire class were their 56xx locos which looked like they made them, but in reality they were much modified locos built by or for an entirely different company that the GWR took over in the act of Grouping in 1923).
_________________
.